Getting a tattoo is exciting. Whether it’s your first piece or the next addition to a growing collection, a little preparation can make a huge difference to the overall experience.
Choosing the right artist is one of the most important parts of getting a tattoo. But just as important is how you prepare your skin and your body before the session. A little preparation can make a huge difference — helping you stay comfortable in the chair and ensuring your tattoo heals clean and vibrant.
Here’s a simple 24-hour tattoo preparation plan to help you get the best possible result from your next tattoo.
Step 1: Start Preparing Your Skin in the Week Before
Your skin is the canvas for your tattoo, so the healthier it is before your session, the better the final result will be.
In the week leading up to your appointment, focus on keeping the skin clean, hydrated and free from irritation.
Using a gentle foam wash daily helps remove oils, dirt and bacteria that naturally build up on the skin. Keeping the area clean reduces the risk of breakouts or irritation right before your tattoo appointment.
You can also apply a small amount of tattoo aftercare ointment in the days leading up to your session to keep the skin soft and hydrated. Well-hydrated skin tends to take ink more evenly and can make the tattooing process smoother for your artist.

A simple routine in the week before your appointment:
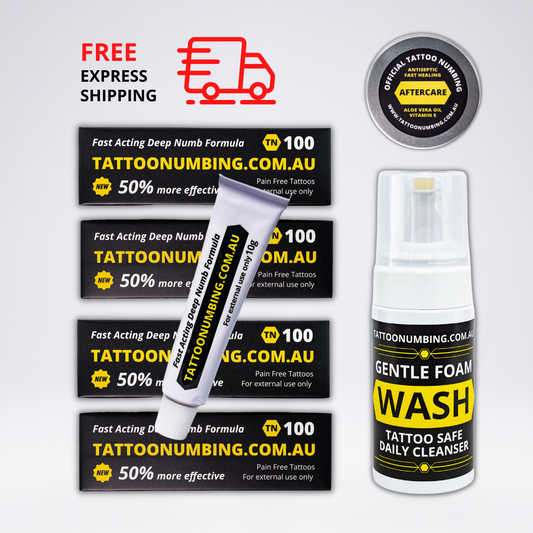
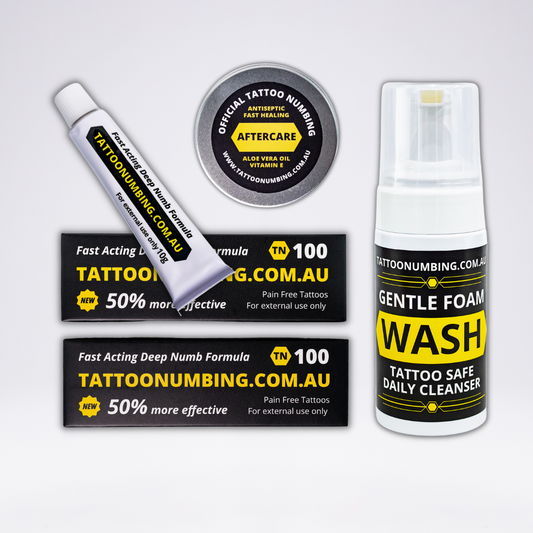
- Clean the area daily using a foam wash from our tattoo aftercare collection
- Keep the skin hydrated using a light layer of aftercare balm
- Avoid sunburn or irritation on the area
- Don’t shave the area too early — your artist will usually prepare the skin right before the session if needed
Healthy skin gives your artist the best canvas possible to work with.
Step 2: The Night Before Your Tattoo
The night before your appointment is all about preparing your body so you arrive relaxed and ready for the session.
A few simple things can make a big difference to how comfortable you feel in the chair.
Get a good night's sleep
Being well rested helps your body cope with longer tattoo sessions.
Stay hydrated
Drink plenty of water throughout the day before your appointment.
Eat properly
Have a solid meal before your session so your energy levels stay stable.
Avoid alcohol
Alcohol can thin the blood and increase bleeding during the tattoo process.
These small steps help ensure your body is in the best condition for your tattoo session.
Step 3: Applying Tattoo Numbing Cream Properly
One of the biggest mistakes people make with numbing cream is not applying enough, or not allowing enough time for it to activate.
For best results, apply your numbing cream around 60-90 minutes before your tattoo session begins.
If you're unsure about the full process, you can follow our step-by-step How to Apply Tattoo Numbing Cream Guide.
How Much Numbing Cream Do You Need?
As a general guide:
One tube covers roughly 10–12cm² of skin
That’s approximately about the size of your hand
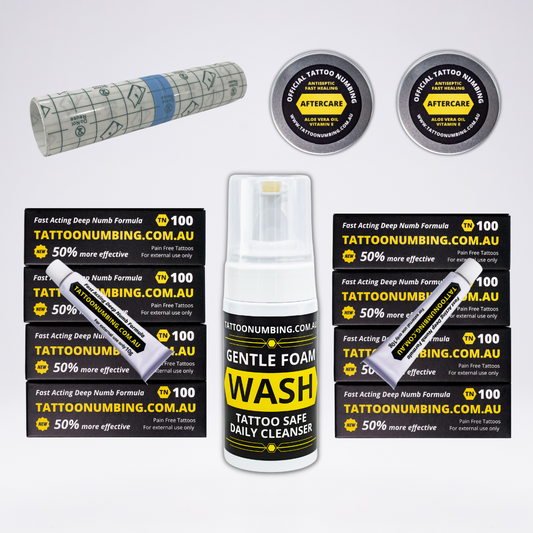
For larger tattoos, you’ll need multiple tubes to ensure proper coverage.
For example:
- Small tattoo: 1 tube
- Half sleeve: around 3 tubes
- Large sleeve or full session: several tubes depending on coverage
This is why many people choose a Tattoo Numbing Bundle so they know they have enough coverage before their session begins.
How to Apply It
- Clean the skin thoroughly.
- Apply a thick layer of numbing cream — do not rub it in.
- Cover the area with plastic wrap or film.
- Leave it covered while the cream activates.
Allowing the cream to activate properly helps ensure maximum numbing during the tattoo process.

Step 4: During Your Tattoo Session
Once your tattoo session begins, preparation makes a noticeable difference.
When your skin is clean, hydrated and properly numbed, most people find they can:
- Sit longer in the chair
- Stay more relaxed during the session
- Avoid tapping out early during longer pieces
For longer sessions, it’s always a good idea to bring water and snacks, especially if you’ll be sitting for several hours.
The more comfortable you are, the smoother the session will be for both you and your artist.
Step 5: Immediate Aftercare
Once the tattoo is finished, the focus shifts to protecting the fresh ink while the skin begins healing.
A fresh tattoo is essentially open skin, so keeping the area clean and protected is important.
After your session:
- Gently clean the tattoo using a foam wash
- Avoid touching the tattoo with unclean hands
- Keep the area clean and protected
Many artists recommend using second skin protection immediately after a tattoo. This protective layer helps shield the tattoo from bacteria while still allowing the skin to breathe during the early healing stage.

Step 6: Supporting the Healing Process
Over the following days, a simple aftercare routine helps your tattoo heal properly and maintain its colour and detail.
Key healing tips:
- Clean the tattoo gently using a foam wash
- Apply a thin layer of aftercare ointment
- Avoid heavy sun exposure
- Do not scratch or pick at the tattoo while it heals
You can find all the products you need for proper healing in our Tattoo Aftercare Collection.
Proper aftercare protects your investment and helps ensure your tattoo heals with sharp lines and vibrant colour.
The Simple System for a Better Tattoo Experience
When you combine proper skin preparation, numbing cream, and good aftercare, you give both your skin and your artist the best possible conditions to create a great tattoo.
The process is simple:
Clean Skin → Proper Numbing → Professional Tattoo → Protected Healing
With the right preparation, you can stay comfortable in the chair, help your artist work efficiently, and give your tattoo the best chance to heal perfectly.